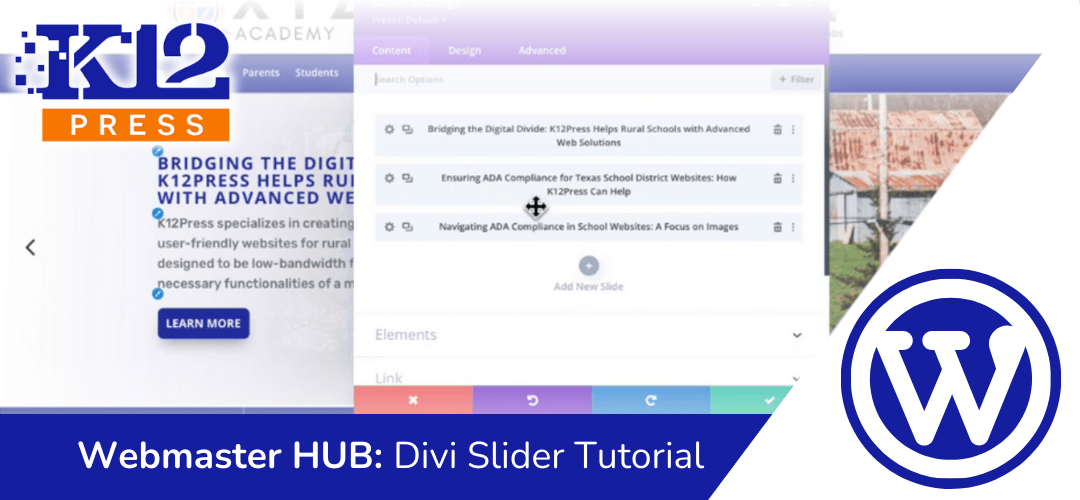
We at K12Press are excited to share our latest video tutorial: a straightforward guide on updating Divi Sliders on your school’s homepage using the Divi Visual Builder.
A dynamic homepage slider can spotlight important events, achievements, and announcements, keeping your school community informed and engaged. With the Divi Builder, an intuitive tool for WordPress, this task is easier than ever.
This tutorial is a step-by-step guide tailored for K12Press’s District and Campus homepages. Whether you’re a seasoned WordPress user or new to the platform, this tutorial simplifies the process of updating your website’s sliders.
Key Takeaways from the Tutorial:
- Accessing the Divi Builder: Learn how to enable the Divi Visual Builder directly from your homepage.
- Navigating the Builder: Discover how to identify and select the slider section for editing.
- Creating and Customizing Slides: Follow along as we demonstrate how to copy an existing slide for consistency and customize it with new content.
- Enhancing Visual Appeal: Get tips on adjusting background images and design elements for a visually appealing slider.
- Applying Changes: See how easy it is to save your updates and instantly improve your homepage’s look.
Updating your school’s website shouldn’t be a daunting task. With tools like the Divi Builder and resources like our video tutorials, K12Press empowers your school to maintain an inviting and informative online presence with ease.
We invite you to watch the tutorial here and see just how simple updating your school website can be. For more helpful tips, tricks, and tutorials, stay tuned to K12Press.com.
Have any questions or need further assistance with your school website? Reach out to us at K12Press – we’re here to help your school shine online!
Step by Step | How to Update a Divi Slider on K12Press's District and Campus Homepages
1. Accessing the Visual Builder:
- If you’re logged into the website and have editing access, click the “Enable Visual Builder” button at the top of the homepage.
- Wait for the site to load, indicated by spinning dots.
2. Navigating the Visual Builder:
- Once in the Visual Builder, different modules and sections on the page will be highlighted as you hover over them.
3. Identifying the Slider Section:
- Locate the slider section on your homepage, usually found right under the header and navigation.
4. Editing the Slider:
- Click on the gray module box of the slider.
- Click the gear icon to open the slider settings.
- The slider settings panel will show existing slides.
5. Creating a New Slide:
- Copy an existing slide for ease of setup, ensuring it inherits current settings.
- Rename and edit the copied slide for your new content.
6. Configuring Slide Content:
- Edit the slide’s title, text, and button as needed.
- For the button, specify the link URL where you want users to be redirected.
7. Adjusting the Background Image:
- Change the background image of the slide by selecting a new image.
- Customize the background settings, like gradients or overlays, to fit your design.
8. Finalizing and Saving:
- Once all edits are complete, review the slide to ensure all content and design elements are as intended.
- Click ‘Save’ to apply the changes.


