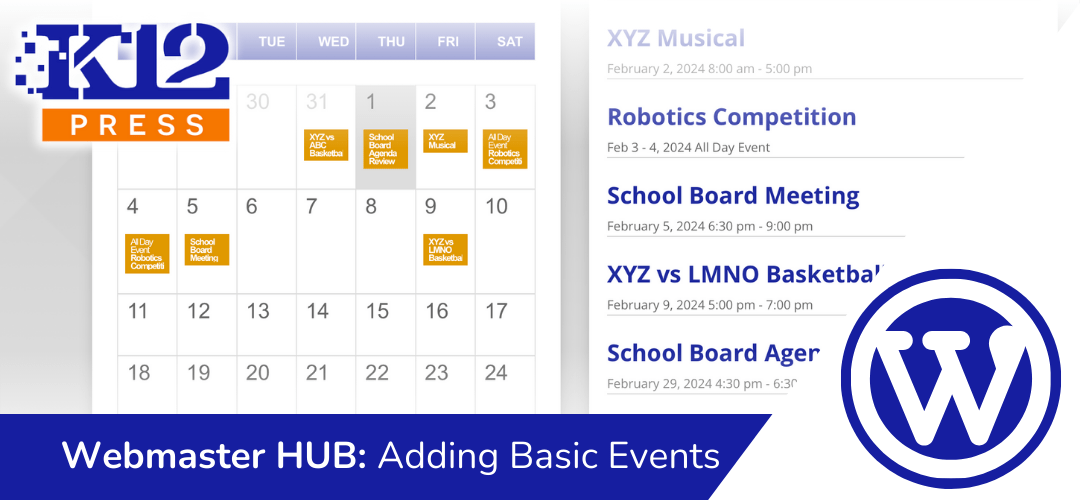
Maintaining an up-to-date calendar is essential for any school website. It keeps the community informed about upcoming events and important dates. To help you master this, K12Press has released a new YouTube tutorial on using The Events Calendar plugin on your WordPress site.
About the Tutorial
In our latest video, “How to Use The Events Calendar Plugin on Your School Website”, we dive into the simple yet effective ways of adding and managing events. This tutorial is designed for educators, administrators, and IT professionals managing school websites, regardless of their technical expertise.
What You’ll Learn
- Basics of The Events Calendar Plugin: Understand the core functionalities of the plugin and how it integrates with WordPress.
- Creating Events: Step-by-step guidance on adding new events, including date, time, location, and descriptions.
- Managing Event Settings: Tips on customizing event features to suit your school’s needs, from virtual event setups to recurring event schedules.
Why This Tutorial Is Important
Keeping your school’s calendar up to date is more than just a clerical task—it’s about keeping your school community connected and engaged. This tutorial empowers you to effectively manage your events calendar, ensuring that students, parents, and staff are always in the loop.
We believe that managing your school’s website should be straightforward and stress-free. That’s why our tutorials are crafted to provide clear, actionable guidance. Watch the full tutorial here and discover how easy it is to enhance your school’s digital presence with The Events Calendar plugin.
For more tips, tricks, and tutorials on making the most of your school’s website, visit K12Press.com. Stay tuned for more content designed to streamline your school’s digital experience!
Step by Step | How to Create a Basic Event on Your K12Press School Website Using The Events Calendar Plugin
- Access the Admin Toolbar:
- Log into your website.
- Ensure your user account has the necessary permissions to create events.
- Create a New Event:
- In the admin toolbar, navigate to ‘New’ and select ‘Event’.
- Basic Event Requirements:
- Enter a title for your event, e.g., “School Board Agenda Review”.
- Set the date and time for the event. For this example, set it to Thursday, tomorrow, from 4:30 p.m. to 5:30 p.m.
- Optionally, mark it as an all-day event for occasions like school celebrations.
- Time Zone Settings:
- Choose a city in your time zone to correctly follow daylight saving time changes. You can set a default in your WordPress general settings.
- Additional Optional Event Details:
- Add a venue name and location.
- The plugin can provide directions for mobile users.
- Optional Organizer and Cost Information:
- Enter organizer names, website links, and event cost if applicable.
- Note: The ticketing module is available in the premium plugin.
- Optional Event Content Creation:
- Each event is a post or page, so you can add detailed information.
- Use the Divi Builder or add PDFs and media to enrich the event page.
- Publishing the Event:
- Once the title and date/time are set, publish the event.
- The event will automatically appear wherever events are referenced on your site.
- Viewing the Event:
- View the event on the homepage, calendar or events section.
- The event page will show all the details you added.
