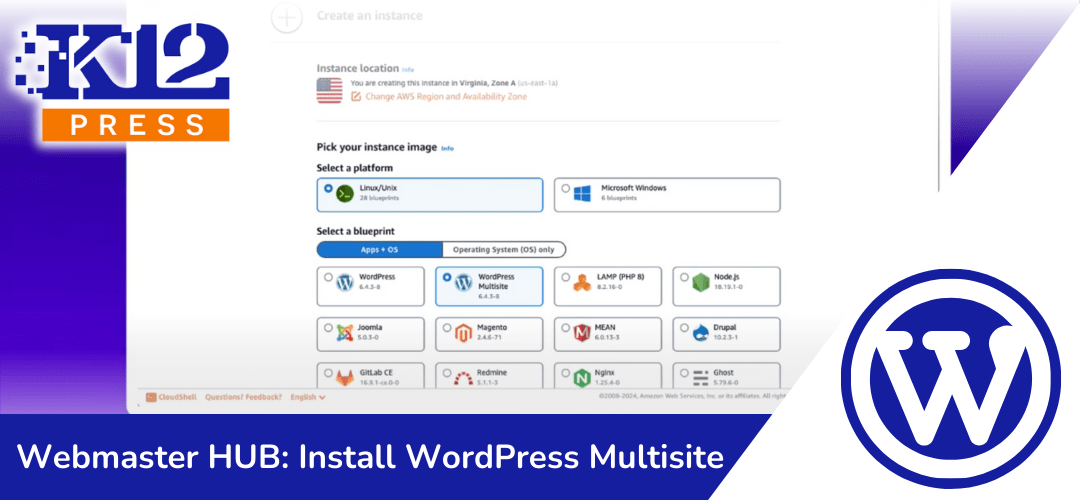
The digital landscape for educational institutions is ever-evolving, and with the increasing need for comprehensive online platforms, the concept of a WordPress multisite network has become more appealing than ever. K12Press’s latest tutorial dives deep into setting up a WordPress multisite network, designed specifically with schools in mind. This blog post will summarize the key points of the tutorial, emphasizing the ease and benefits of expanding your school’s digital presence through a multisite network.
Simplifying the Process
The tutorial begins by breaking down the seemingly daunting task of launching a multisite network into manageable steps. Whether you’re working with AWS LightSail or DreamHost, K12Press guides you through the one-button install process, ensuring that even those with minimal technical expertise can get their network up and running.
AWS LightSail: A Robust Start
For those opting for AWS LightSail, the tutorial highlights the platform’s reliability and scalability. Viewers learn how to perform a step-by-step installation of WordPress, setting the foundation for a powerful multisite network that can grow alongside your educational needs.
DreamHost: Streamlining Your Network
DreamHost users aren’t left behind; the tutorial covers how to activate the multisite feature with ease, including the crucial step of editing the wp-config file. This part of the tutorial is particularly valuable for ensuring your network operates smoothly and efficiently.
Best Practices for Network Management
Beyond the setup, the tutorial delves into best practices for managing and optimizing your multisite network. These tips are invaluable for educators and administrators aiming to create a dynamic, engaging online environment across multiple school websites. From theme and plugin management to user roles and security, K12Press equips you with the knowledge to maintain a cohesive and effective digital presence.
Why Multisite?
The benefits of a WordPress multisite network for schools are manifold. Centralized management, uniform branding, and the ability to tailor each site to specific needs (such as different departments or extracurricular activities) make multisite networks an ideal solution for educational institutions looking to streamline their online operations.
Join the K12Press Community
This tutorial from K12Press is more than just a technical guide; it’s an invitation to join a community dedicated to leveraging technology to enhance education. By unlocking the potential of WordPress multisites, schools can not only improve their digital landscape but also foster a more connected and informed educational community.
For educators and administrators ready to take their school’s online presence to the next level, this tutorial is a must-watch. And with K12Press’s commitment to providing insightful, accessible tutorials, there’s no better partner in navigating the world of educational technology.
Don’t Miss Out!
Stay tuned to K12Press for more tutorials and insights designed to empower your school’s digital journey. Subscribe now and ensure your institution remains at the cutting edge of educational technology.
Step by Step | Installing WordPress Multisite Network for School Websites and Educational Institutions
Choosing Your Host
- Select a Hosting Provider: The first step involves choosing a hosting service that supports WordPress multisite network capabilities. While most providers offer a one-button WordPress install, ensure they allow multisite network activation.
Installation on AWS LightSail
- Setting Up on AWS LightSail: AWS LightSail is recommended for its scalability and ease of backup and redeployment. The tutorial guides you through creating a new instance for WordPress Multisite, selecting your plan based on expected traffic.
- Navigate to the AWS LightSail dashboard, select “Create instance,” choose the WordPress Multisite application, pick your plan, and name your instance (e.g., XYZ Demo).
Configuring Multisite on DreamHost
- DreamHost One-Button Install: Unlike AWS, DreamHost requires manual activation of multisite capabilities. After the one-button install:
- Access your wp-config file via the file editor in the root folder.
- Insert the line
Define('WP_ALLOW_MULTISITE', true);before “That’s all, stop editing! Happy blogging.”
Setting Up the Network
- Activating Network Setup: With the multisite feature enabled, navigate to “Tools” > “Network Setup” in your WordPress dashboard to configure your network. This includes deactivating all plugins temporarily and following prompts to establish your district’s main site and subsites.
Customizing Sites with K12Press
- Install K12Press Plugin Library: Enhance each site with the K12Press Plugin Library for tailored templates and tools specific to educational needs.
- Once installed, customize each campus site using Divi Builder templates, ensuring consistency yet allowing for campus-specific modifications.
Final Steps
- Export and Import Templates: For uniformity across campuses, create a master template and export it for use across all subsites. This ensures a cohesive look while allowing for site-specific adjustments.


