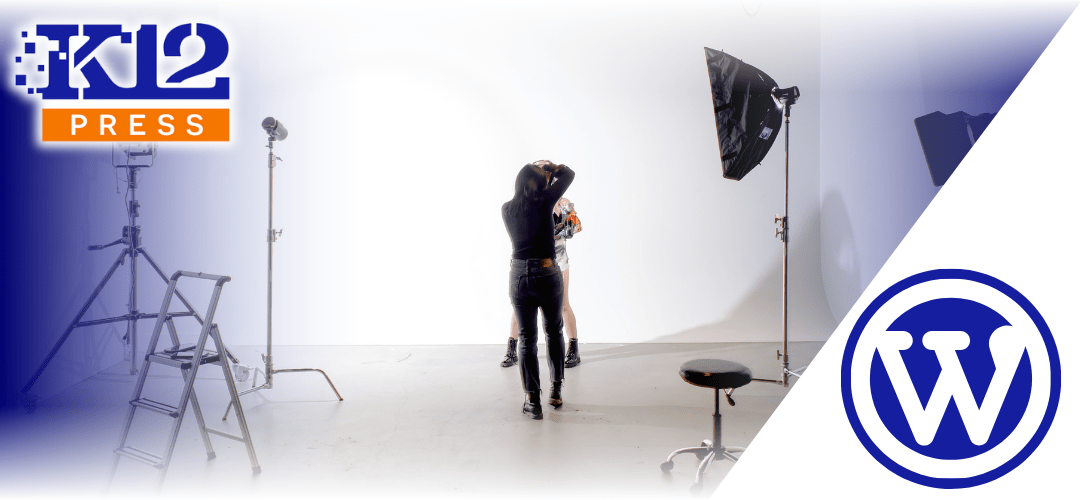
Having modern and professional headshots for school websites is essential. These images help create a strong first impression, adding a personal touch that connects staff with the school community. But what if you need to update these headshots quickly? Thanks to advancements in AI technology, creating polished, modern headshots is easier and faster than ever before.
In this tutorial, we’ll walk you through the process of quickly creating new headshots for school websites, including tips for setting up the shoot and using AI programs like FaceApp and Canva to retouch, enhance, and style the final images.
Step 1: Preparing for the Headshot Shoot
Before you start taking photos, it’s important to prepare to ensure that the shoot goes smoothly and results in high-quality images.
- Choose the Right Location: Find a well-lit area with a neutral background. Natural light is ideal, so consider setting up near a large window. If natural light isn’t available, use soft, diffused lighting to avoid harsh shadows.
- Select the Appropriate Attire: Advise staff to wear solid, neutral colors that complement their complexion. Avoid busy patterns or overly bright colors that might distract from the face.
- Consider the Pose: A slight angle to the body with the face turned towards the camera often works best. Encourage relaxed, natural expressions—smiles that are genuine can make a big difference in the final image.
- Gather the Right Equipment: While a professional camera is great, modern smartphones are equipped with excellent cameras that can capture high-resolution images. Ensure your camera or phone is clean and ready for use.
Step 2: Conducting the Photoshoot
With everything prepared, it’s time to start taking the headshots. Here’s how to get the best results:
- Take Multiple Shots: For each staff member, take several photos from different angles and with slightly varied expressions. This gives you a range of options to choose from later.
- Check the Composition: Ensure that the person’s face is well-framed in the shot. The eyes should be roughly one-third of the way down from the top of the frame, and there should be some space above the head.
- Mind the Background: Keep the background simple and uncluttered. If you don’t have a clean background available, you can remove or blur it later using editing tools like Canva.
- Review and Adjust: After taking a few shots, review them to ensure they are sharp and well-lit. Make any necessary adjustments to the lighting or pose and continue shooting.
Step 3: Retouching and Enhancing with AI Tools
Once you have your photos, the next step is to enhance them using AI tools like FaceApp and Canva. These tools can quickly retouch photos and add creative elements, helping to create a polished, professional look with minimal effort.
FaceApp for Retouching:
- Download and Install FaceApp: If you don’t already have it, download FaceApp on your smartphone. The app is available for both iOS and Android devices.
- Upload Your Photo: Open the app and upload the headshot you want to retouch. The app will automatically detect the face and offer various enhancement options.
- Use Retouch Features: Explore the retouching features such as skin smoothing, teeth whitening, and removing blemishes. FaceApp also offers options for adjusting lighting and applying subtle filters to enhance the overall look of the photo.
- Adjust and Save: Make sure not to overdo the retouching—aim for a natural look. Once you’re satisfied with the adjustments, save the enhanced image.
Canva for Background Removal and Templating:
- Upload to Canva: After retouching, upload the photo to Canva. Canva’s AI-powered tools make it easy to further refine the image.
- Remove Background: Use Canva’s background removal tool to isolate the subject. This is especially useful if the original background is cluttered or if you want to place the subject against a different backdrop.
- Apply Templates: Canva offers a range of professional templates that can add a consistent style to all your headshots. Choose a template that matches your school’s branding and customize it with your colors and fonts.
- Add Finishing Touches: You can also use Canva to add subtle effects, frames, or logos to your images, giving them a cohesive, professional look.
Step 4: Final Touches and Uploading to the Website
After retouching and styling, there are a few final steps to ensure your new headshots for school websites are ready.
- Crop and Resize: Use Canva or another photo editing tool to crop and resize the image to fit the website’s specifications. Standard dimensions for headshots are often around 400×400 pixels, but check your website’s requirements.
- Compress for Web: To ensure the images load quickly on your website, compress them using a tool like TinyPNG or JPEG-Optimizer without losing quality.
- Organize and Upload: Create a consistent naming convention for the files (e.g., firstname_lastname_headshot.jpg) and upload them to the appropriate section of your website. Ensure all images are consistent in style and format.
Quick & Easy: Headshots for School Websites
With the right preparation and tools, creating modern, professional headshots for school websites doesn’t have to be a time-consuming task. By following this guide and leveraging AI tools like FaceApp and Canva, you can quickly produce high-quality images that will enhance your school’s online presence and make a lasting impression on visitors.
At K12Press, we’re here to help you make the most of your school’s digital presence. If you need further assistance with photography, design, or any other aspect of your website, don’t hesitate to reach out to us. Visit K12Press


