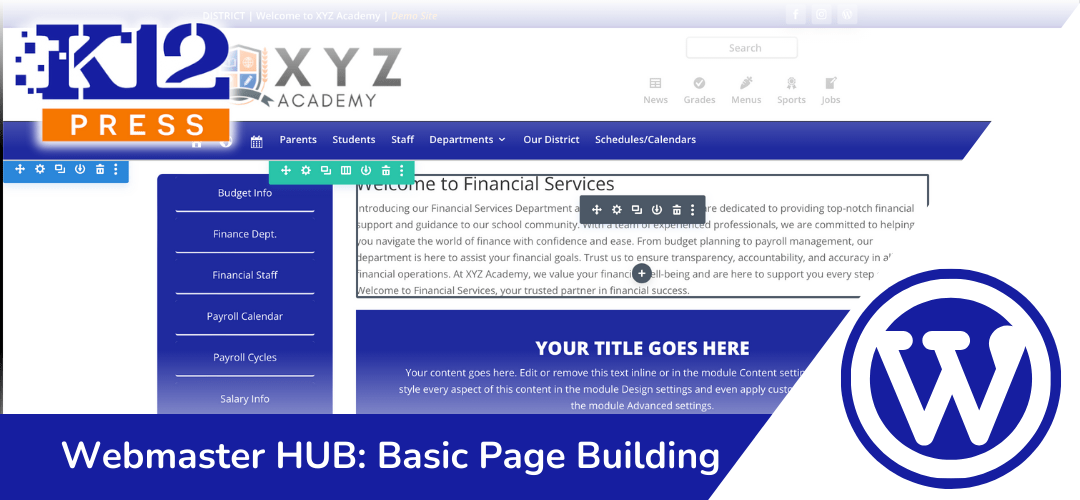
K12Press is here to guide you through the process of building a basic content page with our newest tutorial, K12Press Tutorial: Basic Page Building. This tutorial is dedicated to helping educators and school website administrators become proficient in using the Divi Visual Builder – a powerful tool for building stunning web pages.
Why Divi Visual Builder?
The Divi Visual Builder is renowned for its flexibility and user-friendliness, making it an ideal choice for schools looking to create or revamp their website without needing extensive technical knowledge.
Tutorial Overview
In this video, you’ll learn the essentials of the Divi Visual Builder, including:
- Understanding Sections, Rows, and Modules: Grasp the basics of Divi’s building blocks and how they come together to form a webpage.
- Customizing Basic Module Settings: Discover how to tailor each module to your specific design and content needs.
- Efficient Design Management: Learn the process of saving modules and page layouts to the Divi Library, a time-saving feature for future design tasks.
Step-by-Step Guide
The tutorial walks you through:
- Creating a New Page: Start from scratch and understand the layout structure.
- Adding and Managing Sections: Learn how to add various sections and customize their appearance.
- Incorporating Rows and Modules: Insert rows and choose from a range of modules to add content.
- Customization Techniques: Adjust settings for each module, including text, color, and size, to match your school’s branding.
- Utilizing the Divi Library: Save your layouts and modules for easy reuse in future designs.
By following this tutorial, school website administrators can efficiently create pages that are not only visually appealing but also reflective of their school’s ethos and informative for their community.
K12Press’s Divi Visual Builder tutorial is more than just a guide; it’s a resource that empowers educators and administrators to take control of their school’s online narrative. Watch the full tutorial here and begin your journey towards creating a more dynamic and engaging school website.
Step by Step | Building a Basic Page with Divi Visual Builder on K12Press School Websites
- Starting with a Blank Page:
- Begin with a blank page on your website (e.g., Financial Services page in XYZ Academy demo site).
- Navigate to the page and click ‘Enable Visual Builder’ to start editing.
- Understanding the Divi Layout:
- Recognize the green-highlighted header and footer areas.
- Focus on the blue-highlighted section – the main content area of your page.
- Working with Sections and Rows:
- Each blue box represents a section. You can have multiple sections per page.
- Inside sections are green-highlighted rows which define the column layout.
- Adding Content to Your Page:
- Start with an introductory heading or text block.
- Use the Divi modules to add different content types like text blocks, person modules, etc.
- Customizing Modules:
- Hover over a module to see customization options.
- Edit existing modules or add new ones as needed.
- Explore various Divi modules and their functionalities.
- Saving Modules to the Library:
- If you create a module design you like, save it to the Divi library for future use.
- Click the ‘Save to Library’ icon in the module settings.
- Adjusting Row Layouts:
- Add new rows for different column layouts.
- Drag and drop modules between columns to organize your content.
- Design and Styling:
- Customize the design of each module in the ‘Design’ tab.
- Adjust text styles, colors, backgrounds, and other design elements.
- Creating a Page Template:
- Once your page design is complete, save it as a template for other pages.
- Go to the page settings menu and select ‘Save to Library’ to save the entire page layout.
- Finalizing Your Page:
- Review your page layout and content.
- Save your changes by clicking the purple button with three dots at the bottom and selecting ‘Save’.


