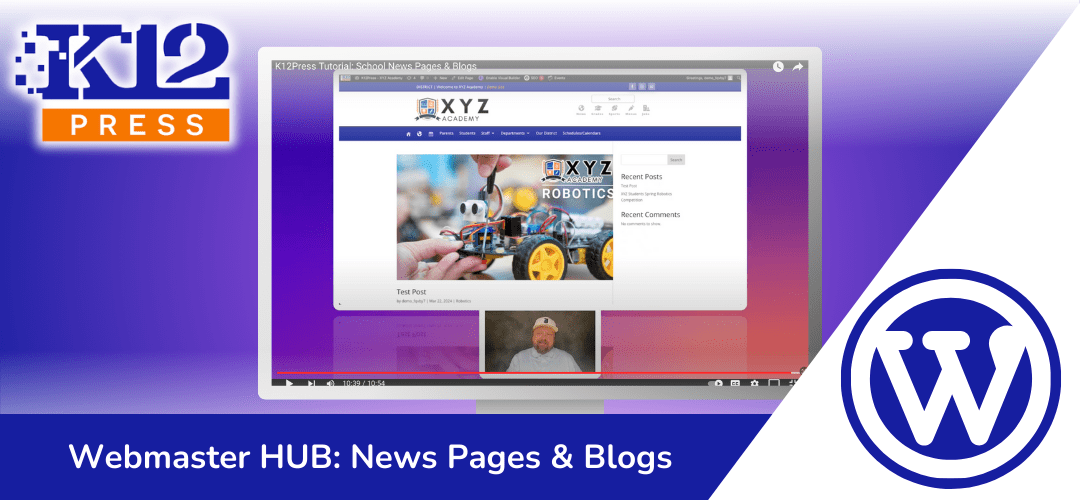
A school’s online presence is just as crucial as its physical one. It’s the beacon that shines your institution’s values, achievements, and community spirit across the vast digital landscape. Understanding this, we at K12Press are excited to introduce our tutorial: “Creating School News Pages & Blogs in WordPress.” This guide is not just a tutorial; it’s your toolkit for transforming your school’s website into a vibrant hub of information and engagement.
Bridging the Gap: Posts vs. Pages
WordPress, a platform celebrated for its flexibility and ease of use, distinguishes between ‘Posts’ and ‘Pages.’ But what sets them apart? Posts are the heartbeats of your website’s news and blog sections — dynamic, updateable, and ever-evolving. Pages, on the other hand, are the bones — static, foundational, and essential for structure. This tutorial demystifies these concepts, setting you on the right path to utilize each effectively.
The SEO Edge: Crafting Titles and Content
In the digital realm, visibility is key. Your efforts in crafting informative and engaging content should be matched by strategies to enhance your site’s SEO. This tutorial delves into how adeptly chosen titles and well-crafted content can elevate your school’s stories, making them discoverable to a wider audience.
Organizing with Categories and Featured Images
An organized website is a user-friendly website. Learn to harness the power of categories to streamline your content, making it effortlessly navigable for your readers. Furthermore, we emphasize the importance of featured images — a critical element that adds visual appeal and draws readers into your stories.
Creating a Posts Page: Your Digital Bulletin Board
Perhaps the most exciting part of our tutorial is guiding you through creating a dedicated page that lists all your posts. This page acts as your digital bulletin board, where every update, event, and achievement is showcased. It’s not just about listing content; it’s about creating an engaging, interactive experience for your visitors.
Why This Matters
In the bustling corridors of the internet, your school’s website is more than just a source of information; it’s a reflection of your community’s vibrancy, diversity, and achievements. By enhancing your news pages and blogs, you’re not just updating a website; you’re telling the ongoing story of your school, its students, and its staff. You’re creating a legacy that reaches beyond physical boundaries to touch the lives of current and prospective members of your school community.
Join Us
We invite you to watch our tutorial “Creating School News Pages & Blogs in WordPress” and embark on this journey of digital transformation. Whether you’re a seasoned webmaster or new to the world of WordPress, this guide is designed to empower you with the knowledge and tools needed to create a school website that’s not only informative but also engaging and reflective of your school’s spirit.
Stay tuned for more insights, and don’t forget to subscribe to our channel for the latest tutorials and tips. Together, let’s make your school’s digital presence shine brighter than ever.
Step by Step | Creating Engaging School News Pages & Blogs on WordPress
Step 1: Understanding Posts vs. Pages
- Explanation of the difference between WordPress posts and pages. Posts are dynamic and can have categories and tags, ideal for news and blog articles. Pages are static and serve as the foundational elements of your website.
Step 2: Navigating to Your Website’s Dashboard
- Log into the XYZ Academy demo website for K12 Press.
- Overview of where to find the Pages and Posts tabs within the WordPress dashboard.
Step 3: Creating a New Post
- Click “Add New” under the Posts tab to begin creating a new post.
- Enter a title for your post, e.g., “This is a Test Post.”
- Use the Divi Builder (or your preferred page builder) to add and structure content blocks as you would for a page. Optionally, you can load a pre-made layout.
Step 4: Optimizing Content for SEO
- Emphasis on using the text module to add your content and the importance of structuring content with SEO in mind.
- Advice on using header tags appropriately within your content to improve SEO.
Step 5: Saving and Setting Post Details
- After adding content, save your work.
- Use the post settings to tweak the title for SEO, add an excerpt (aim for under 160 characters), and select a featured image. A future tutorial will cover featured images in detail.
Step 6: Categorizing Your Post
- Add your post to relevant categories. Categories help organize your content and are crucial for creating a categorized list of posts on your site.
Step 7: Finalizing Your Post
- Save the post as a draft or publish it, depending on your readiness.
- Quick Edit feature can be used to assign authors, add tags, and adjust other settings like disabling comments for school-related posts.
Step 8: Displaying Your Posts
- To display your posts on a page, you need to create a dedicated page for your news/blog section. This doesn’t require adding content as WordPress will automatically list your posts here.
Step 9: Configuring the Posts Page
- In the WordPress dashboard, go to Settings > Reading.
- Set a page (e.g., XYZ News) as your “Posts page” to list all your blog posts or news articles automatically.

